Get FREE Tips to Live a Healthy, Happy & Balanced Life

Category Archives: DIY

How To Make Play-Doh

Play-Doh-Thumbnail


How To Make Play-Doh:


My kids go through play-doh like crazy, so we started making our own play-doh at home.


I love spending time in the kitchen with my kids, and this allows us to get creative in the kitchen in other ways than baking cupcakes.


My kids have a blast making play-doh in vibrant colors of the rainbow.


This is not only a great way to save money, it also allows you to use that flour (or) food coloring that is about to expire.  😉  Win…Win!


Try it out and let me know how it turns out by sharing your picture and tag it #Play-DohFUN in social media so I can check them out.


Play-Doh Recipe:

Directions: 

Using a small pan on Low heat add in the following ingredients and mix continuously for 2-3 minutes.  I like using whisk to mix but you can also use a wooden spoon. 


Ingredients:

1 cup of water

1 cup of Flour

½ teaspoon of table salt

2 teaspoon of cream of tartar

2 tablespoon of Vegetable oil


Mix until the flour starts to cook and thicken.  (Mixture will be fairly wet.  Don’t worry!  We will thicken it up by adding flour after mixing in the color)


Coloring:

Divide your play-doh mixture in to paper cups for each color you’d like to create.  I roughly use 2 tablespoon of mixture in each cup.


This is where the Starbucks coffee stirring sticks come in handy!  😉


Using stirring stick (or) butter knife mix in the desired food coloring in each cup.  Be sure to use clean stirring stick / butter knife for each cup to keep color clean.  I like using Gel Neon Food Coloring from Michael’s.  Their colors are so A-mazing and vibrant!


Once you have the color mixed thoroughly, start adding flour until dough becomes thick and play-doh consistency.


Have a sparkle lover in the house?  No problem!  Add any color glitter directly in to the play-doh.  You can find them in all colors at the Dollar Store.


HOT Tip:

Don’t throw away your old Play-doh containers.  You can use it to store your homemade play-doh in it.  Or simply use old fashioned zip lock bags.  🙂


This is such a simple yet fun DIY project.


I hope you have fun with it.  Comment below this blog if you’d like me to record a how-to video for you.  Happy to get that queued in the upcoming blog posts.


Now, I would love to hear from you.  

Did you find this blog post helpful or inspiring?  Will you be trying out this recipe with me?  What other DIY projects would you be interested in hearing about in the upcoming blog posts?


Important: please share your thoughts and ideas directly in the comments below.


As always, thank you in advance for reading, commenting and sharing.  You help my mission to create “Sisterhood for Mommies” come to life!


Share the knowledge…Share the love…


XOXO,

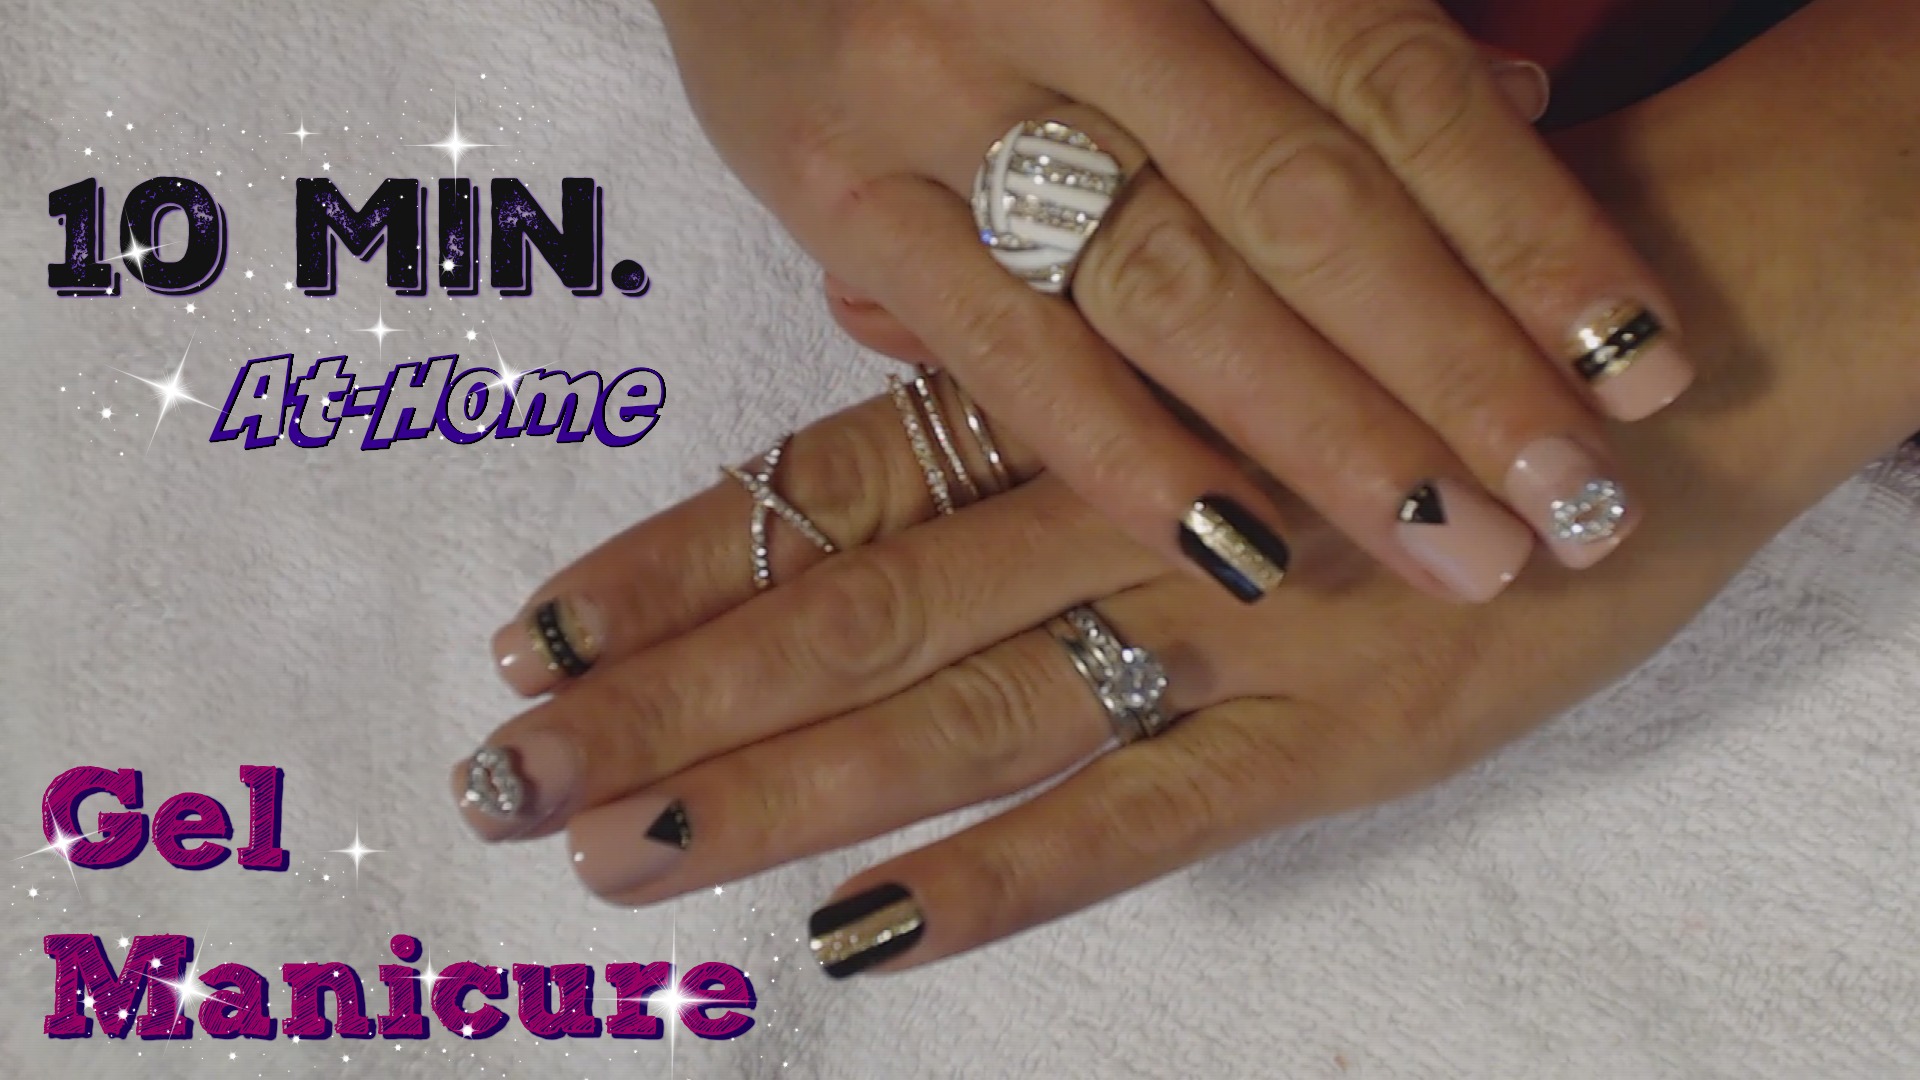
10 Min. At-Home Gel Manicure Tutorial

Gel Nails - Thumbnail - YouTube

Flawless Nails in 10 minutes At-home Gel Manicure Tutorial


Hey Beautiful!


If you are anything like me and enjoy having beautiful nails then keep reading…


While I LOVE to pamper myself to a Manicure or a Pedicure – Just like most Moms often times I don’t have the time or the money to get my nails done regularly.


If you can relate to this then you will appreciate this video tutorial where I walk you through step-by-step on how you can get stunning nails in the comfort of your home in just 10 minutes!


This is my go-to “Emergency Nails” Solution.  Perfect for work, date night or any occasion.


Hope you enjoy this tutorial.


As always, thank you for watching, rating possitively and sharing.  Your support means the world to me.


PRODUCTS:

ImPRESS Press on Gel Nails I get mine from CVS


Polar Block – To Smooth out the surface of your nails.  Sold at Sally’s Beauty Supply Store


Beauty Secrects Washable/Sanitizable Coarse Nail Filer – Can be purchased from any beuty supply store.  I get mine form Sally’s Beauty Supply Store


Prep N’ Clean Dehydrant by A.S.P (all season professional) – To clean and prepare your nails for optimal bonding.  It’s salon quality and helps in making sure your nails stay on up to 2 weeks.

I LOVE this product over the Prep Pad the nail packet comes with.   Totally worth it!  I also use this product to prep my nails when I do at-home pink and white gel set from scratch.


Now, I would love to hear from you.  Are you enjoying this content?  What other types of videos would you like to see on my channel?


Important: please share your thoughts and ideas directly in the comments below.


Thank you in advance for reading, commenting and sharing.  You help my mission to create “Sisterhood for Mommies” come to life!


Share the knowledge…Share the love…


XOXO,


Get Pampered and Organized on a Budget

Getting organized Thumbnail


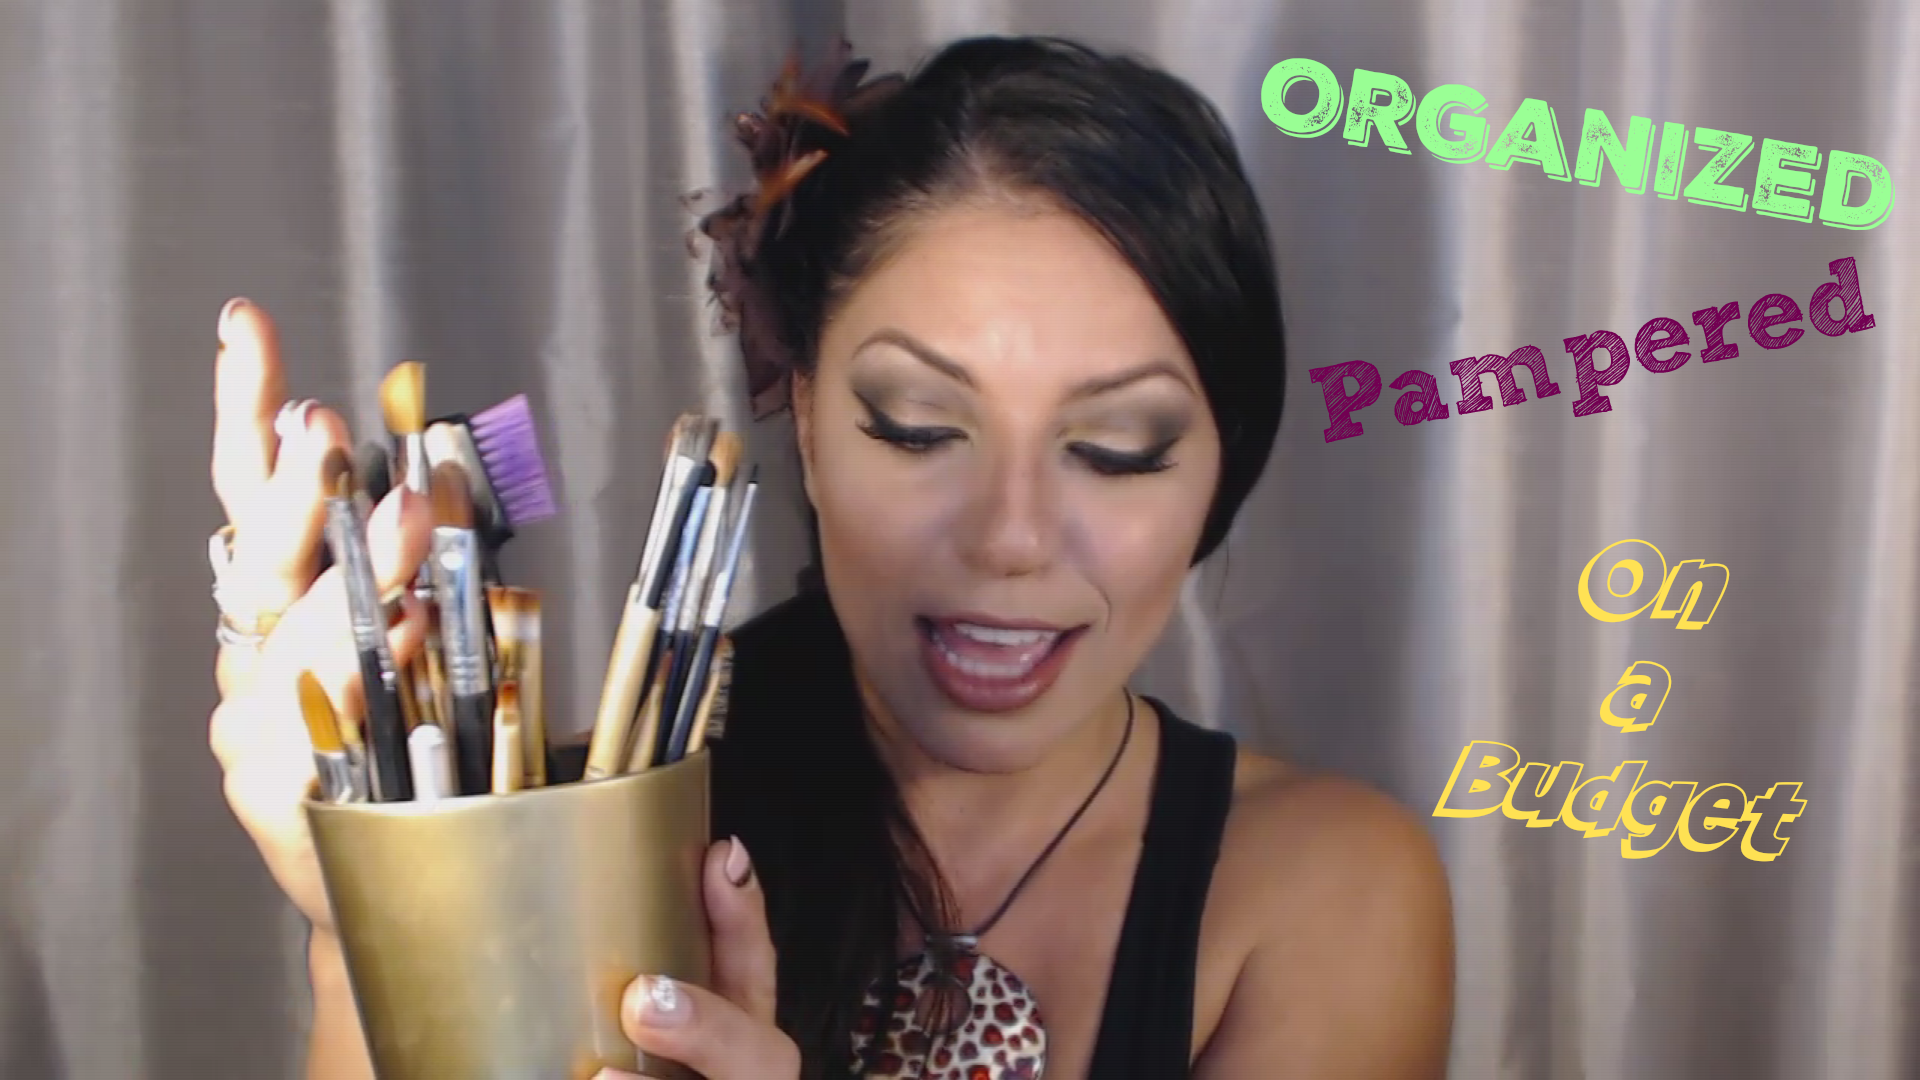
How to Get Pampered and Organized on a Budget


Hey Beautiful!


Do you like getting organized?


Do you like getting what you want at next to no cost or better yet FREE  all the while you pamper yourself?


Meeeee toooo!!!!


Like most girls – I LOVE to shop!!!! ….but let’s get real – just like most Mamas I am on a budget and I must be smart with my money.


I love to pamper myself, stay organized and saving money.


Who says we can’t have it all?!?!


Why not, get organized while on a budget and pamper yourself at the same time?


Here is a fun video where I share my tips on getting organized on a budget while pampering your inner Goddess!


Hope this video inspires you to look at shopping differently and get creative with re-purposing items you might already have.


Don’t forget to rate and comment below the video and let me know how you like this DIY Episode.

Subscribe to my channel so you can gain access to more tutorials like this one. 😉


PRODUCTS:

Essential Elements Candle Lite Company in Scent – Lavender & Cedarwood.


This candle not only smells soooooo A-mazing, it’s also clean burning.  The wax is so creamy and melts beautifully. Which makes cleaning to re-purpose it a breeze!


If you plan on spray painting it like you see in this video, I recommend you spray paint the inside only.  It gives it a beautiful finish.


I used a canned spray paint by KRYLON – Shimmer Gold Metallic from Michaels.


I LOVE the shape of these glasses. They are so stylish.


How to Use it:                                      

You can use it to organize your bathroom for your Q-tips, Tooth Brushes, Combs, Makeup Brushes, Band-Aids, Hair ties, Bobby pins, Lip Liners, Eye Liners, Face lotions, Office supplies like Pens, Markers, Paper clips…just to name a few.

You can even use it to start an indoor gardening.


Possibilities are endless!


Now, I would love to hear from you.  What is your secret to staying organized and on a budget?


Important: please share your thoughts and ideas directly in the comments below.


Thank you in advance for reading, commenting and sharing.  You help my mission to create “Sisterhood for Mommies” come to life!


Share the knowledge…Share the love…


XOXO,



Kid Friendly Halloween Project

IMG_5916


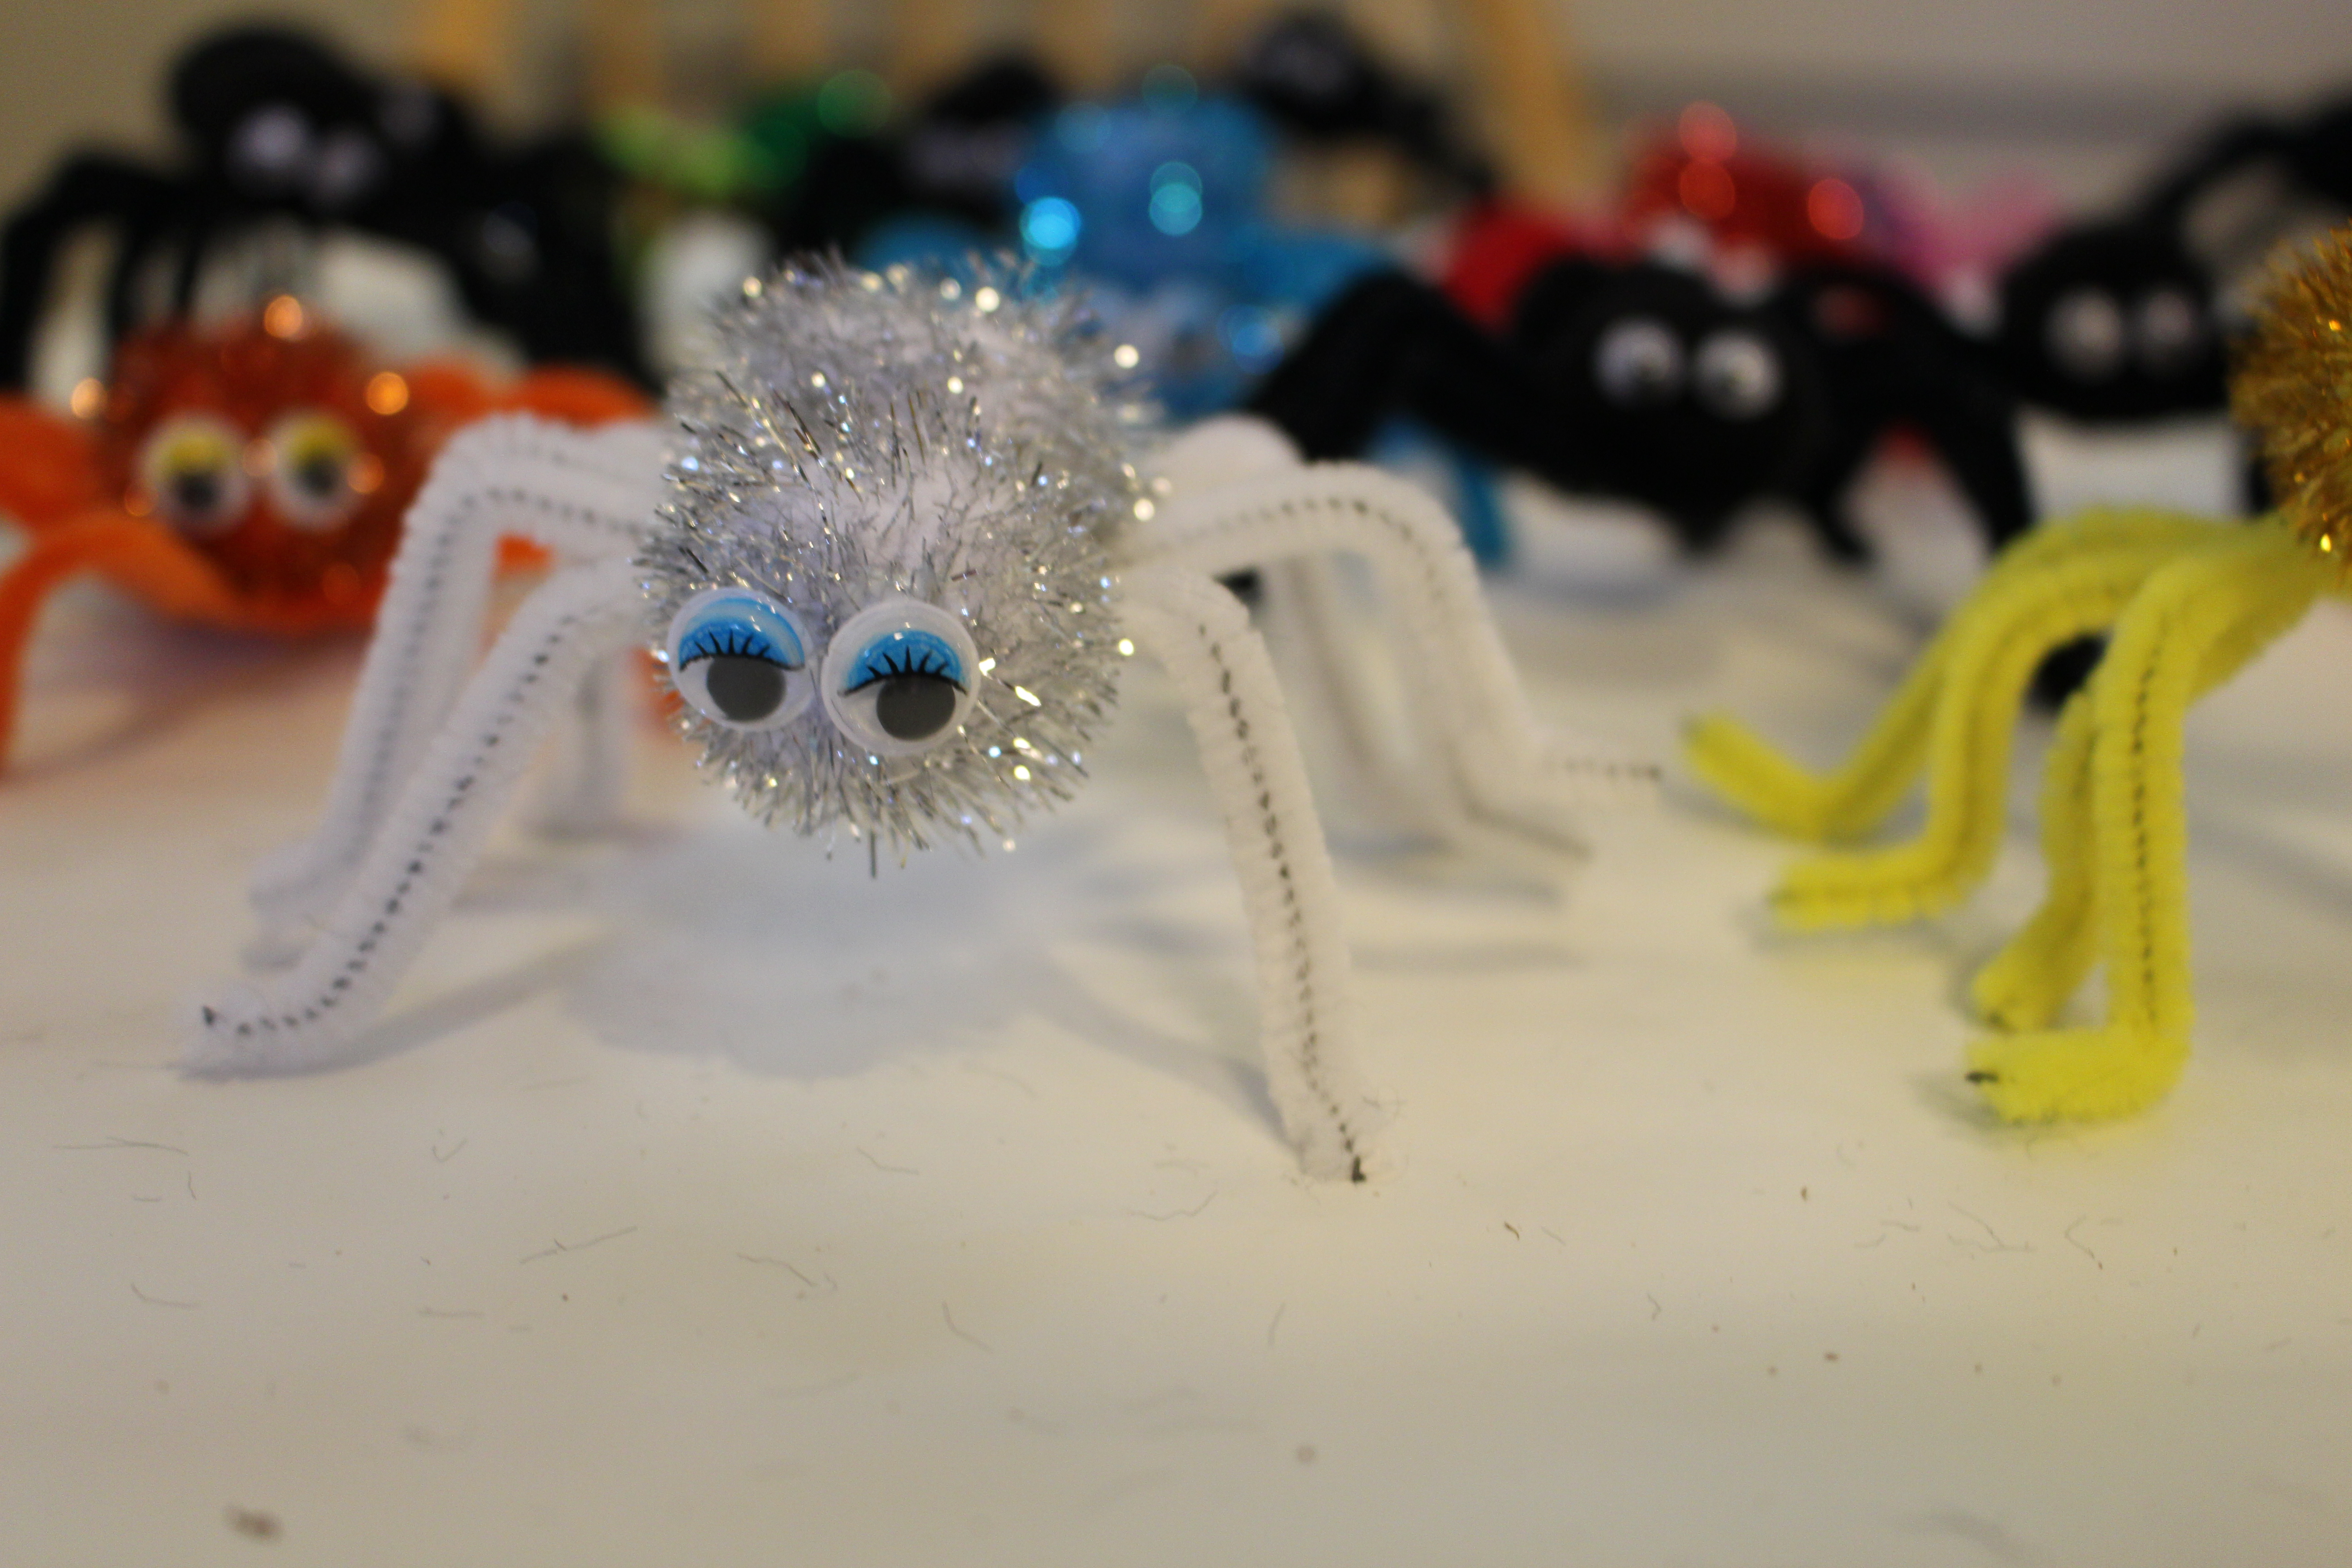
Kid Friendly Halloween Project


Looking for a kid friendly Halloween project?


Look no more!


This is such a simple kid friendly Halloween project just in time as we celebrate Halloween.


My 4 year old had a blast with this project.  We made a bunch of them and decorated our house with it.


Suuuupppper cute!


Hope you enjoyed this DIY project as I much as we did!


Now I’d love to hear from you.  What’s your favorite kid friendly Halloween Project you enjoy doing with your kids?


Important: please share your thoughts and ideas directly in the comments below.


Thank you in advance for reading, commenting and sharing.  You help my mission to create “Sisterhood for Mommies” come to life!


Share the knowledge…Share the love…


XOXO,

Signature-MMS