

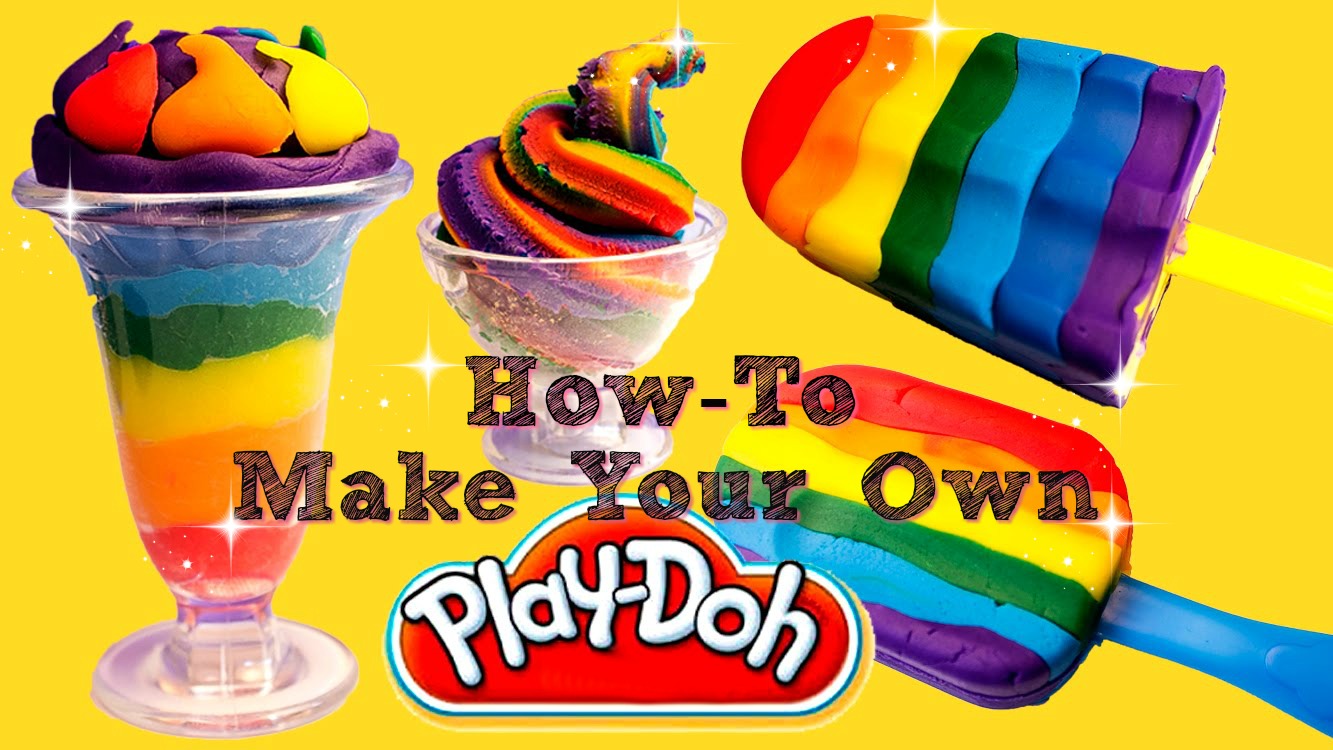
How To Make Play-Doh:
My kids go through play-doh like crazy, so we started making our own play-doh at home.
I love spending time in the kitchen with my kids, and this allows us to get creative in the kitchen in other ways than baking cupcakes.
My kids have a blast making play-doh in vibrant colors of the rainbow.
This is not only a great way to save money, it also allows you to use that flour (or) food coloring that is about to expire. 😉 Win…Win!
Try it out and let me know how it turns out by sharing your picture and tag it #Play-DohFUN in social media so I can check them out.
Play-Doh Recipe:
Directions:
Using a small pan on Low heat add in the following ingredients and mix continuously for 2-3 minutes. I like using whisk to mix but you can also use a wooden spoon.
Ingredients:
1 cup of water
1 cup of Flour
½ teaspoon of table salt
2 teaspoon of cream of tartar
2 tablespoon of Vegetable oil
Mix until the flour starts to cook and thicken. (Mixture will be fairly wet. Don’t worry! We will thicken it up by adding flour after mixing in the color)
Coloring:
Divide your play-doh mixture in to paper cups for each color you’d like to create. I roughly use 2 tablespoon of mixture in each cup.
This is where the Starbucks coffee stirring sticks come in handy! 😉
Using stirring stick (or) butter knife mix in the desired food coloring in each cup. Be sure to use clean stirring stick / butter knife for each cup to keep color clean. I like using Gel Neon Food Coloring from Michael’s. Their colors are so A-mazing and vibrant!
Once you have the color mixed thoroughly, start adding flour until dough becomes thick and play-doh consistency.
Have a sparkle lover in the house? No problem! Add any color glitter directly in to the play-doh. You can find them in all colors at the Dollar Store.
HOT Tip:
Don’t throw away your old Play-doh containers. You can use it to store your homemade play-doh in it. Or simply use old fashioned zip lock bags. 🙂
This is such a simple yet fun DIY project.
I hope you have fun with it. Comment below this blog if you’d like me to record a how-to video for you. Happy to get that queued in the upcoming blog posts.
Now, I would love to hear from you.
Did you find this blog post helpful or inspiring? Will you be trying out this recipe with me? What other DIY projects would you be interested in hearing about in the upcoming blog posts?
Important: please share your thoughts and ideas directly in the comments below.
As always, thank you in advance for reading, commenting and sharing. You help my mission to create “Sisterhood for Mommies” come to life!
Share the knowledge…Share the love…
XOXO,